Introduction
Have you ever stopped to think about your keyboard? It’s one of the most used peripherals in any computer setup, a direct bridge between your thoughts and the digital world. Yet, for many, it remains a simple, utilitarian tool. But what if your keyboard could be more? What if it could offer a superior typing experience, reflect your personality, and even boost your productivity? A well-maintained and personalized keyboard is not just a tool; it’s an extension of its user. For tech enthusiasts, gamers, and professionals alike, understanding how to care for and customize your keyboard can transform your daily interaction with your computer from mundane to magnificent. This guide will walk you through the essentials of keyboard maintenance, ensuring your device has a long and healthy life, and then dive into the exciting world of customization, where you can tailor your keyboard to be uniquely yours. Whether you’re looking to fix a sticky key or build a one-of-a-kind mechanical masterpiece, you’ve come to the right place.
The Foundation of a Great Keyboard: Regular Maintenance
Just like any other piece of technology, your keyboard requires regular care to function at its best. Dust, crumbs, hair, and other debris can easily find their way between the keys, leading to a less-than-ideal typing experience. Over time, this buildup can cause keys to become sticky, unresponsive, or even stop working altogether. Beyond performance, there’s a significant hygiene factor to consider. Keyboards can harbor a surprising amount of bacteria, so regular cleaning is essential for a healthy workspace.
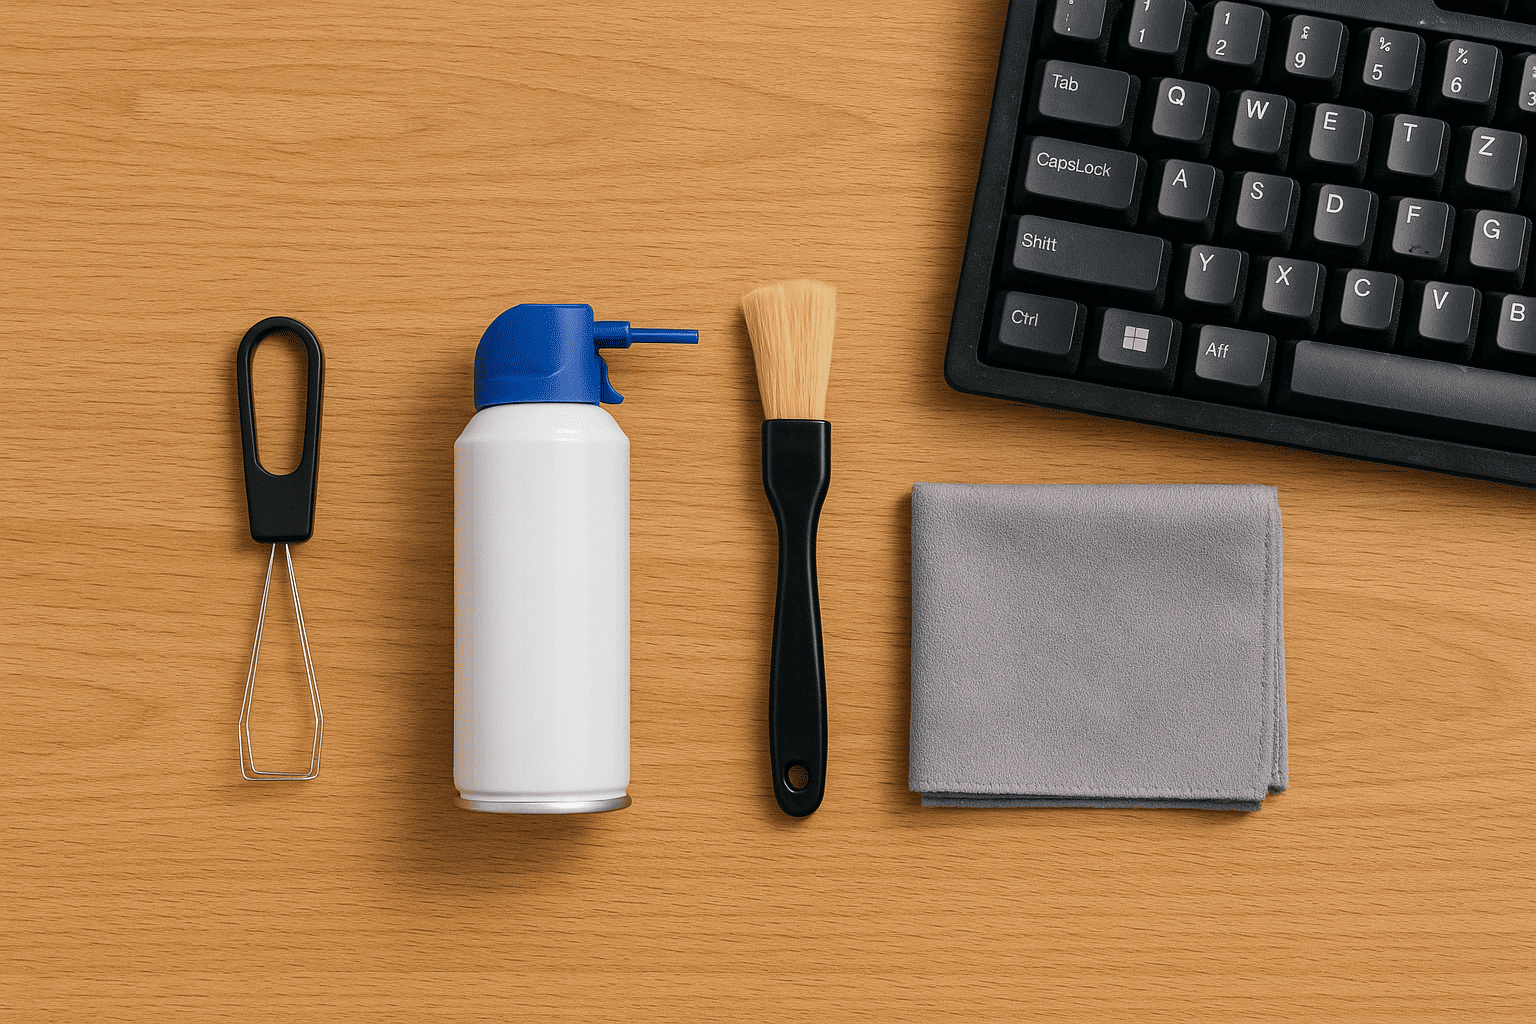
A consistent maintenance routine not only extends the lifespan of your keyboard but also ensures it remains a pleasure to use. For a simple yet effective cleaning, you can start by unplugging your keyboard and turning it upside down to shake out any loose debris. For a more thorough clean, compressed air is your best friend, allowing you to blow out stubborn particles from between the keys.
A Deeper Dive into Cleaning
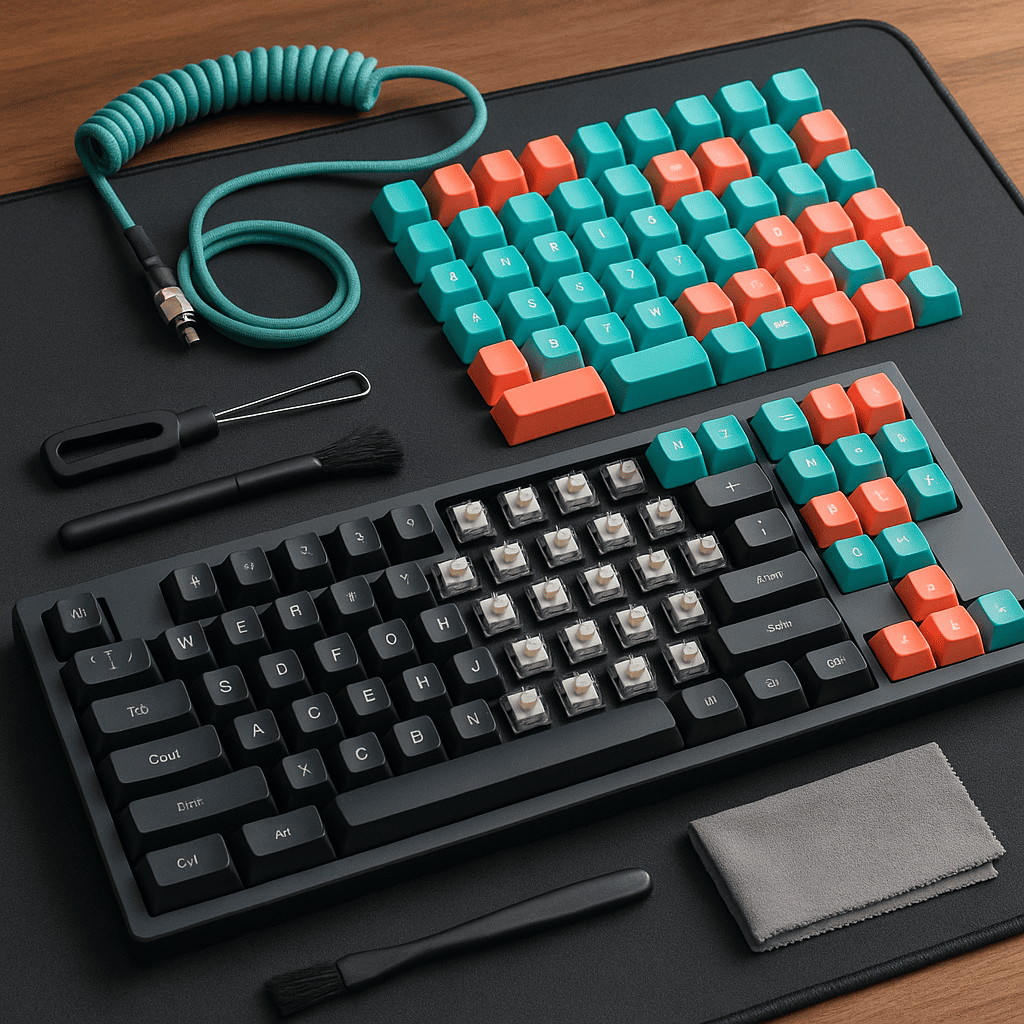
For those who want to go the extra mile, a deep clean can make your keyboard feel brand new. This process is especially effective for mechanical keyboards, where you can remove the keycaps for unrestricted access.
- Preparation is Key: Before you begin, make sure your keyboard is unplugged. It’s also a great idea to take a picture of your keyboard layout so you can easily put the keycaps back in their correct places.
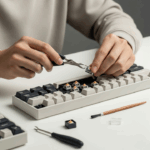
- Keycap Removal: Using a keycap puller, gently wiggle and pull each keycap straight up. This will expose the switches and the keyboard plate.
- Cleaning the Keycaps: The removed keycaps can be soaked in a bowl of warm water with a bit of mild soap. Let them sit for about an hour, then rinse them thoroughly and let them air dry completely.
- Cleaning the Keyboard Body: With the keycaps off, you can use a brush or a microfiber cloth to wipe down the keyboard plate. For any grime, a cotton swab lightly dampened with isopropyl alcohol works wonders.
- Reassembly: Once both the keycaps and the keyboard body are completely dry, you can press the keycaps back onto the switches.
Troubleshooting Common Keyboard Issues
Even with regular maintenance, you might occasionally run into some common keyboard problems. One of the most frequent culprits is a sticky or unresponsive key. This is often caused by a spill or debris getting lodged in the switch mechanism.
Let’s consider a relatable scenario: Meet Alex, a writer who accidentally spilled a little soda on his keyboard. A few days later, he noticed the ‘E’ key was slow to pop back up and felt mushy. Instead of buying a new keyboard, Alex decided to tackle the problem himself. He unplugged the keyboard, removed the ‘E’ keycap, and used a cotton swab with a bit of isopropyl alcohol to gently clean around the switch. After letting it dry, he reattached the keycap, and the key felt as good as new.
For unresponsive keys, the issue might be debris blocking the switch from actuating. A blast of compressed air can often dislodge the particle. If you have a hot-swappable mechanical keyboard, you can even pull out the faulty switch and replace it with a new one without any soldering. However, if multiple keys stop working at once, it could indicate a larger hardware or software issue, and it might be time to consult the manufacturer’s support.
Unleash Your Personality: An Introduction to Keyboard Customization
Once you have the maintenance basics down, you can explore the incredibly rewarding world of keyboard customization. This goes far beyond just choosing a keyboard in a different color. It’s about tailoring every aspect of the keyboard to your specific preferences, from its look and feel to its sound. The mechanical keyboard community, in particular, has embraced customization, with a vast ecosystem of parts and mods available.
The journey into customization can be as simple as changing your keycaps or as complex as building a keyboard from scratch. The main areas of customization include:
- Keycaps: The most visible part of your keyboard, available in countless colors, profiles, and materials.
- Switches: The mechanisms under the keycaps that determine the feel and sound of each keystroke.
- Aesthetics: This includes everything from the keyboard case and plate to custom cables that match your setup.
A World of Keycaps: Finding Your Perfect Style
Changing your keycaps is one of the easiest and most impactful ways to customize your keyboard. It’s a great starting point for beginners. When choosing keycaps, you’ll want to consider the material and the profile.
The two most common materials for keycaps are ABS (Acrylonitrile Butadiene Styrene) and PBT (Polybutylene Terephthalate). ABS keycaps are smooth and can develop a shine over time, while PBT keycaps have a textured, matte finish and are more durable.
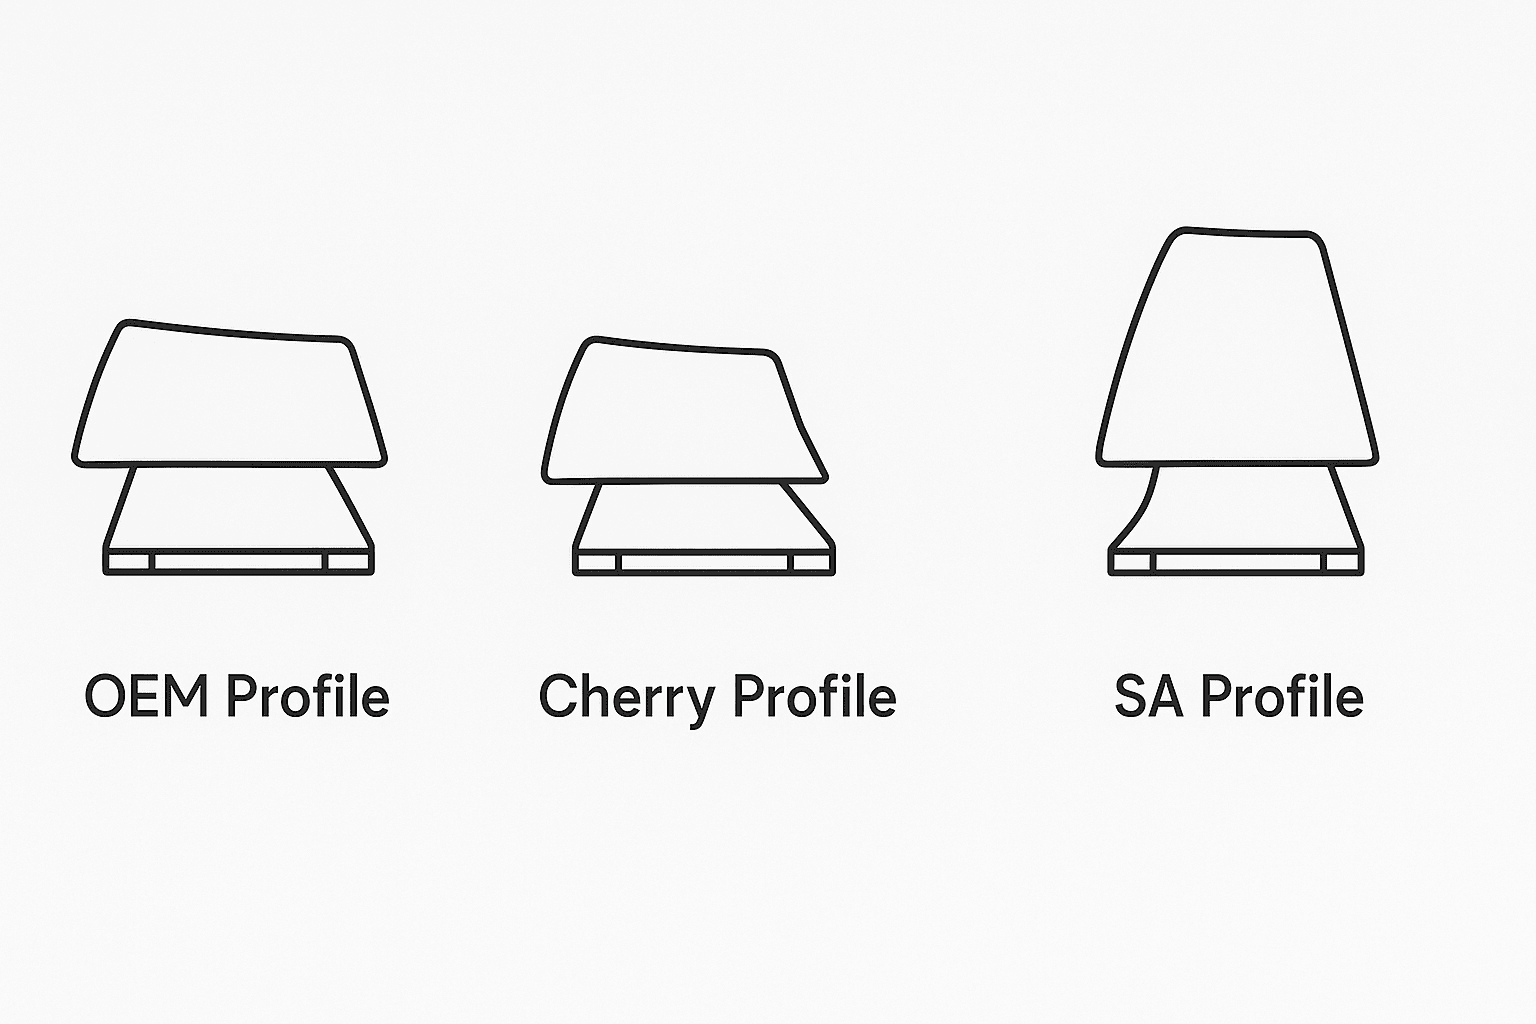
The keycap profile refers to the shape and height of the keycaps. Different profiles can significantly affect your typing comfort and speed. Some popular profiles include:
- OEM: A standard, sculpted profile found on many pre-built keyboards.
- Cherry: Similar to OEM but slightly lower, favored by many enthusiasts for its comfort.
- SA: A tall, heavily sculpted, vintage-style profile with spherical tops.
Beyond the Surface: Exploring Switches and Sound
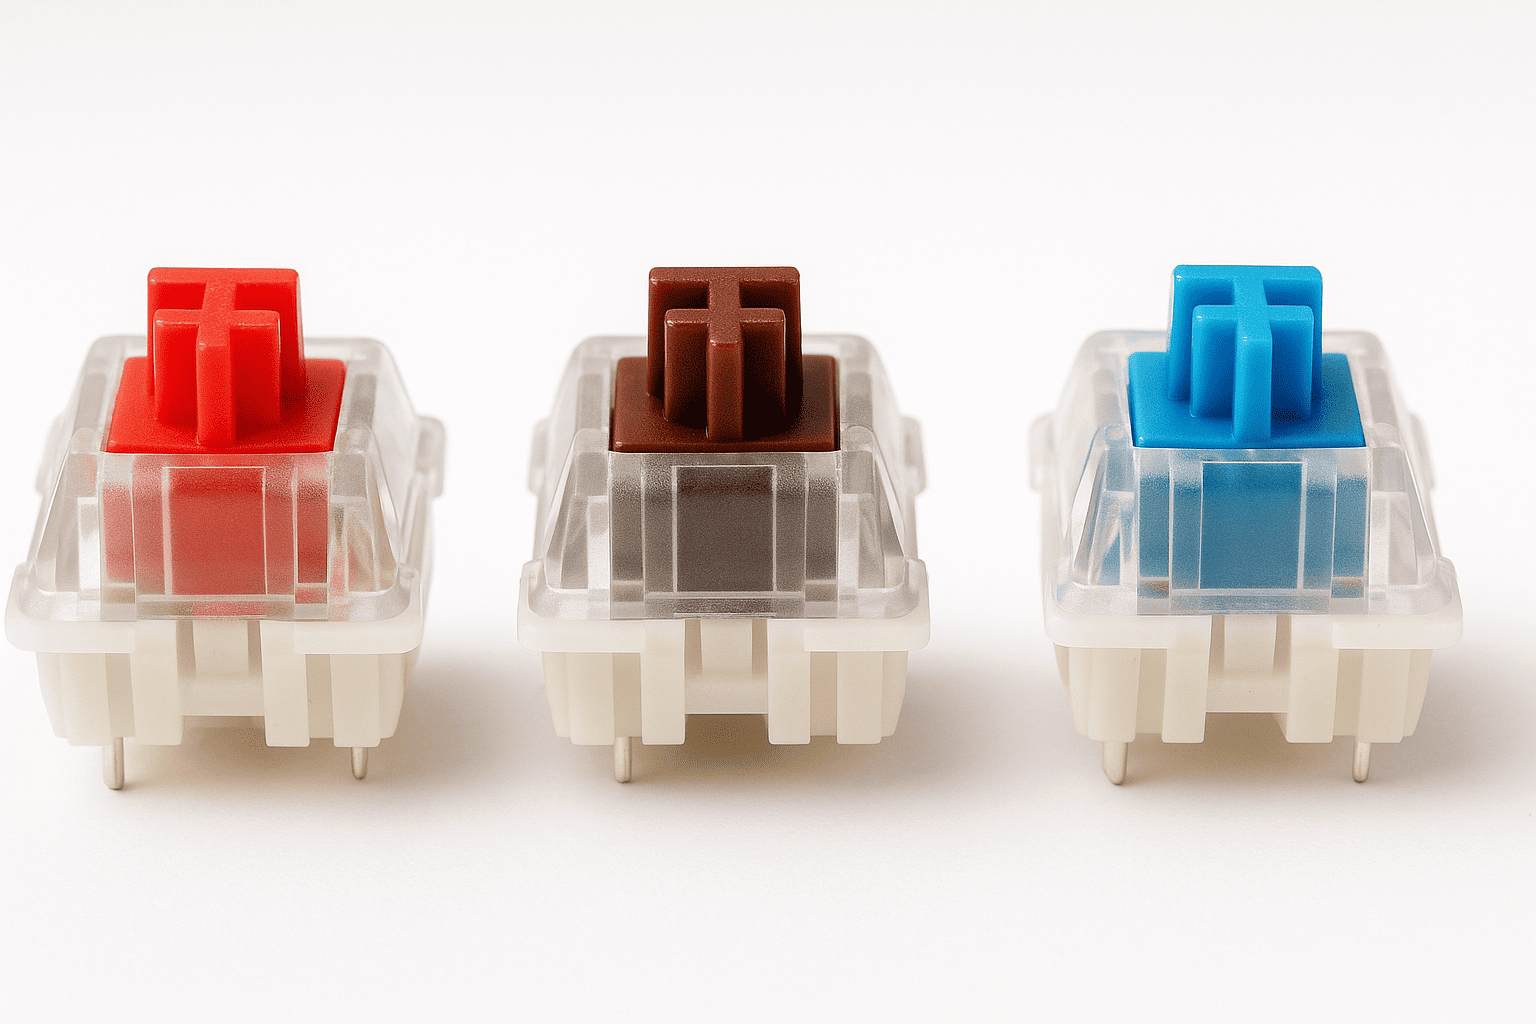
For those who want to delve deeper, exploring different keyboard switches opens up a new level of customization. Switches are the heart of a mechanical keyboard, and they come in three main types:
- Linear: Smooth and consistent, with no tactile bump. Popular among gamers for their rapid actuation.
- Tactile: Provide a noticeable bump in the middle of the press, letting you know the keystroke has been registered. Great for typing.
- Clicky: Offer both a tactile bump and an audible click. Satisfying for those who enjoy the sound, but can be loud in a shared space.
A popular mod for keyboard enthusiasts is lubing the switches. This involves applying a special lubricant to the moving parts of the switch to reduce friction, resulting in a smoother keypress and a more pleasing sound. While it’s a more involved process, it can dramatically improve the feel of your keyboard. Other aesthetic touches, like a coiled, custom-colored USB cable, can be the final piece of the puzzle to complete your personalized setup.
Conclusion
Your keyboard is more than just an input device; it’s a key part of your daily computing experience. By investing a little time in regular maintenance, you can ensure it performs reliably for years to come. From a simple cleaning to troubleshooting minor issues, a well-cared-for keyboard is a happy keyboard. And when you’re ready, the world of customization awaits. Swapping out keycaps, trying new switches, or even building a keyboard from the ground up allows you to create a device that is perfectly suited to your needs and style. We encourage you to start with small, manageable steps. Perhaps a new set of keycaps or a thorough cleaning is in your future. Explore the possibilities, and don’t be afraid to experiment to find what works best for you. What are your favorite keyboard maintenance tips or customization mods? Share them in the comments below!