Introduction
Do you ever feel like you’re performing “keyboard gymnastics”? Your left hand is stretched awkwardly to hit Ctrl+Shift+E, while your right hand jumps from the mouse back to the home row. For complex software in fields like video editing, programming, or graphic design, the sheer number of shortcuts can be overwhelming, forcing our fingers to travel all over the keyboard. But what if, instead of moving your hands to the commands, you could bring the commands directly under your fingers?
This is the revolutionary concept behind keyboard layers. Meet Elena, a video editor who spends her day in Adobe Premiere Pro. She was constantly frustrated by the need to remember and reach for dozens of different key combinations. Her workflow felt disjointed. Then she discovered layers—a way to program her keyboard to have different “modes” for different tasks. This guide will demystify keyboard layers, explain the simple tools used to control them, and give you practical ideas to build a keyboard that is not just a device you type on, but a dynamic and personalized productivity engine.
What Are Keyboard Layers? (You Already Use One!)
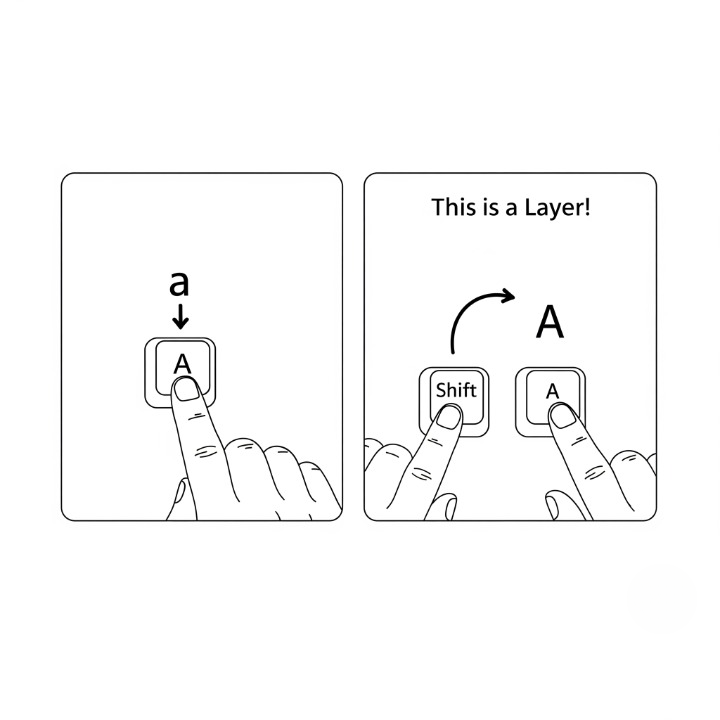
If the concept of “layers” sounds intimidating, don’t worry. You already use one every single day: the Shift key.
Think about it: when you press the ‘a’ key, you get a lowercase ‘a’. But when you hold down Shift and press ‘a’, you get an uppercase ‘A’. The Shift key doesn’t have a function on its own; it acts as a switch that temporarily changes the function of all the other keys on your keyboard, activating a “second layer” of characters.
Now, imagine if you could have three, four, or even ten different “Shift keys,” each activating a unique layer of commands tailored to your needs. That is the core idea of programmable keyboard layers. You could have:
- A Navigation Layer with arrow keys and media controls right on the home row.
- A Numpad Layer for quick data entry.
- An Editing Layer with all your most-used Premiere Pro or Photoshop shortcuts.
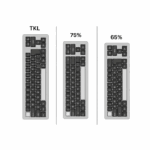
This transforms your compact 65% or 75% keyboard into a powerhouse with more functionality than a full-size board, all without your hands ever leaving their resting position.
Meet QMK and VIA: The Keys to Customization
The magic that enables this level of control is powerful firmware—the keyboard’s internal “brain.” The most popular open-source firmware in the enthusiast community is QMK. While incredibly powerful, programming it traditionally required some coding knowledge.
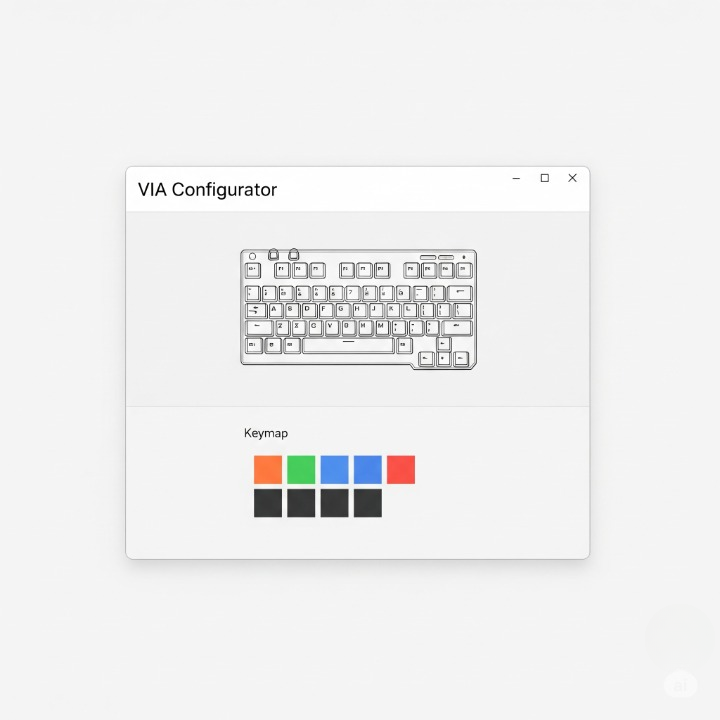
This is where VIA comes in. VIA is a user-friendly application that provides a simple graphical interface for customizing QMK-powered keyboards in real-time. If your keyboard is VIA-compatible, you simply plug it in, open the VIA website or app, and you can remap keys, create macros, and program layers with a few clicks. No coding required. Many modern enthusiast keyboards, including models like the NuPhy Air75 V2, now come with this powerful firmware pre-installed.
Practical Layer Ideas to Supercharge Your Workflow
Here are a few concrete examples of layers you can create to dramatically improve your efficiency.
The Home Row Navigation Layer
This is often the first layer people create. The goal is to eliminate the need to move your right hand to the dedicated arrow keys.
- How it works: You can program a key you rarely use, like
Caps Lockor the rightAltkey, to act as a layer switch. When you hold this key down, yourI, J, K, Lkeys temporarily becomeUp, Left, Down, Right.
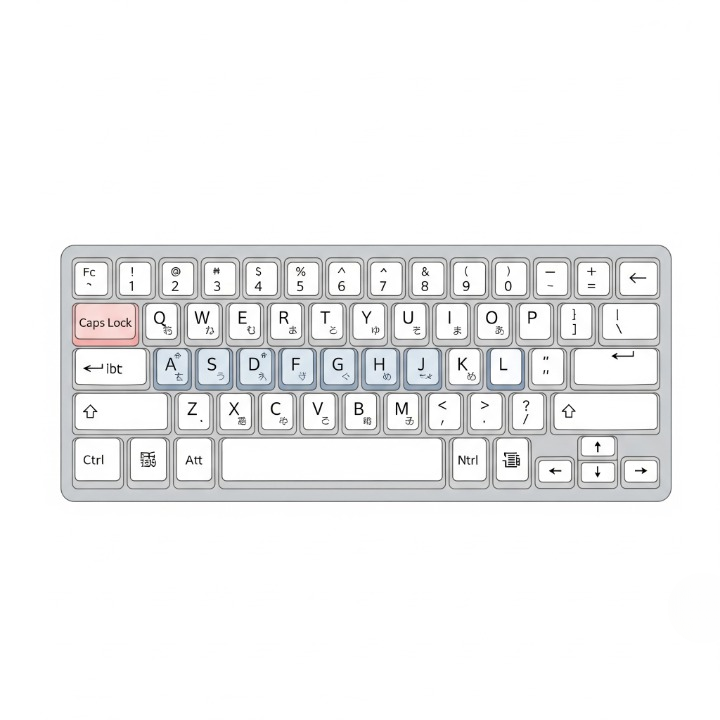
- Why it’s great: Your hands never leave the home row. This makes navigating documents and web pages incredibly fast and fluid, a core skill for effective keyboard-only navigation.
The Instant Numpad Layer
For those who work with numbers but prefer a smaller keyboard, this is a game-changer.
- How it works: Assign another key (perhaps a function key) to activate your “Numpad Layer.” When held, your right-hand keys (
U, I, O,J, K, L,M, ,, .) transform into a fully functional number pad. - Why it’s great: You get the full functionality of a ten-key numpad without the extra desk space. Perfect for spreadsheets and data entry.
The Application-Specific Layer
This is where Elena, our video editor, finds her solution.
- How it works: She creates a dedicated “Premiere Pro” layer. On this layer, she maps her most-used commands—like ‘Blade Tool’ (
B), ‘Select Tool’ (V), ‘Zoom In’ (+), and ‘Ripple Delete’—to single, easy-to-reach keys likeQ, W, E, R. - Why it’s great: It eliminates complex, multi-key shortcuts and replaces them with a logical, personalized layout for a specific program. This reduces cognitive load and dramatically speeds up a creative workflow.
How to Get Started with VIA: A Simple Guide
Creating your first layer with VIA is easier than you think.
Conclusion
Programmable layers are arguably the single most powerful feature of modern enthusiast keyboards. They transform a static input device into a dynamic, intelligent tool that adapts to you and your workflow. It’s a fundamental shift from moving your hands to find the right key, to bringing the right function directly under your fingertips, exactly when you need it.
The initial setup requires a bit of thoughtful planning, but the payoff in terms of speed, comfort, and reduced physical strain is immense. Start with one simple layer, like the home row navigation layer, and use it for a week. As you build muscle memory, you’ll start to see opportunities for productivity everywhere. You are no longer limited by the labels printed on your keycaps; you are limited only by your imagination.