Introduction
It’s a moment of pure panic for any keyboard enthusiast. You sit down at your desk, ready to work or game, and your favorite key—perhaps the E key you use constantly—either doesn’t respond or types “eeee” with a single press. Your heart sinks. Is your beloved, expensive mechanical keyboard broken forever? Do you need to buy a new one?
Meet Nate. He’s been happily using his mechanical keyboard for over a year, but yesterday, his Backspace key started acting up. He was frustrated and ready to start shopping for a replacement. The good news for Nate, and for you, is that many of the most common keyboard problems are surprisingly easy to fix yourself. You don’t need to be an electronics expert. With a methodical approach and a few simple tools, you can often diagnose and solve the issue in under an hour. This guide will walk you through the essential troubleshooting steps for the most common keyboard ailments, empowering you to be your own technician.
Before You Panic: The Simple Software and Connection Checks
Before you ever open up your keyboard, always rule out the simplest solutions first. It’s surprising how often these solve the problem.
- Check the Connection: Is the USB cable fully plugged into both the keyboard and the computer? Try a different USB port on your computer. If you have a spare cable, try that as well. A faulty cable is a common culprit.
- Restart Your Computer: The oldest trick in the IT book is often the most effective. A simple reboot can resolve countless software glitches that may be causing your keyboard to misbehave.
- Test on Another Device: This is a critical diagnostic step. Plug your keyboard into a different computer or laptop. If the problem disappears, then the issue is with your original computer’s software or drivers. If the problem persists on the new device, you know the issue is with the keyboard’s hardware.
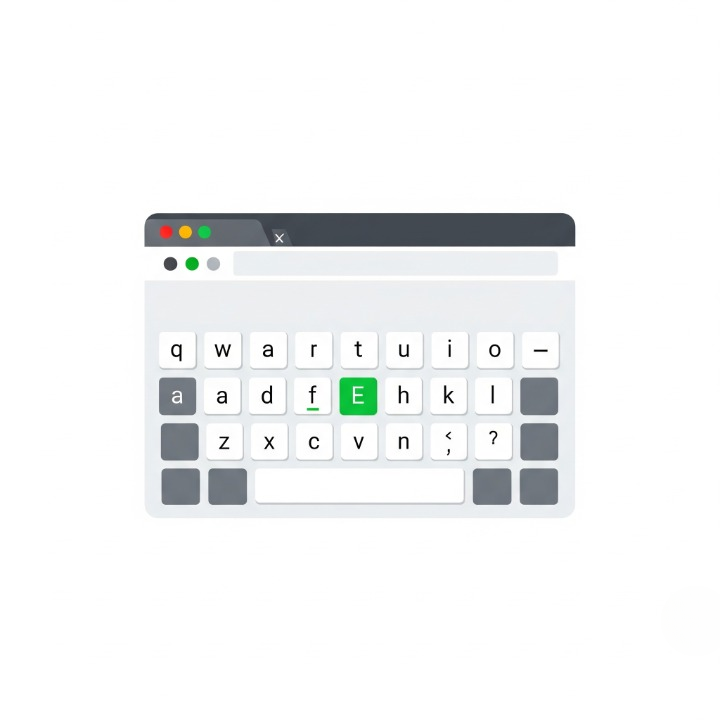
- Use a Keyboard Tester: The first thing you should do when diagnosing a key issue is visit an online keyboard tester, like the simple tool at keyboardtester.com. This website will visually show you which keys are being registered, helping you confirm if a key is truly dead or if it’s “chattering” (registering multiple inputs).
Issue 1: A Single Key is Not Working or “Chattering”
This is the most common hardware failure on a mechanical keyboard. The cause is almost always a faulty switch.
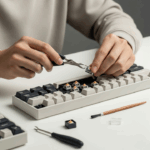
The Fix for Hot-Swappable Keyboards
If your keyboard is hot-swappable, you’re in luck. This is an easy, 5-minute fix.
- Unplug your keyboard.
- Use a keycap puller to gently remove the keycap from the faulty key.
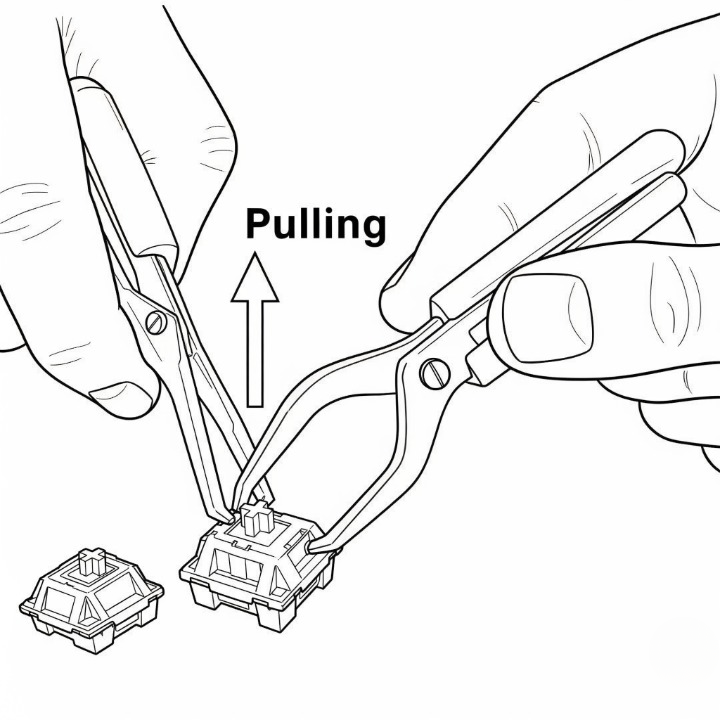
- Use a switch puller tool (it should have come with your keyboard) to grab the switch by the tabs on its top and bottom. Squeeze the tabs and pull straight up. The switch will pop out.
- Take a new, working switch (you should have some spares from your original purchase) and carefully align its metal pins with the holes in the hot-swap socket on the PCB.
- Press the new switch straight down until it clicks securely into place.
- Put the keycap back on, plug in your keyboard, and test it. The problem should be resolved. This is a great opportunity to experiment, and if you’re curious about your options, you can check our complete guide to mechanical switches.
The Quick Fix (Cleaning the Switch)
Sometimes, a switch isn’t broken, just dirty. Dust or debris can get inside the mechanism and interfere with the metal contacts. Before you replace the switch, try cleaning it. With the keycap removed, press and hold the stem down. Apply a small amount of compressed air, followed by a small drop of 90%+ isopropyl alcohol, into the switch. Actuate the key 30-40 times to work the alcohol in. Let it dry completely before plugging it back in.
Issue 2: My Keyboard is Not Being Detected At All
If your keyboard is completely unresponsive on multiple devices, the issue is likely with the PCB or its connection.
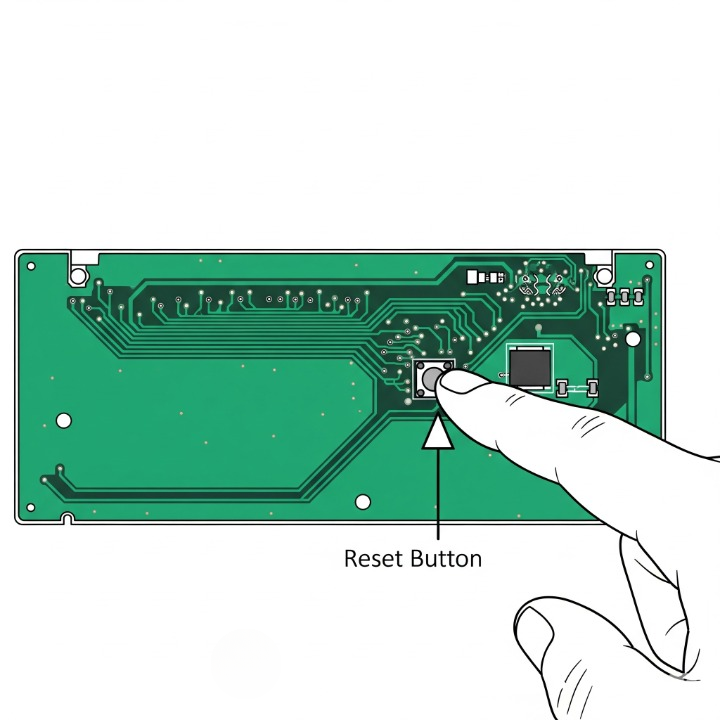
- Firmware Reset: Many keyboards have a physical reset button on the bottom of the PCB, or a key combination (like holding Esc while plugging it in) that will reset the firmware to its factory defaults. Check your keyboard’s manual or the manufacturer’s website for the specific procedure.
- Inspect the USB Port: Carefully inspect the USB-C port on the keyboard itself. Is it loose? Are there any visible signs of damage? A broken internal USB port is a common point of failure and may require a more advanced repair.
Issue 3: Stabilizer Problems
A sticky or rattly large key isn’t a “broken” part, but it’s a major maintenance issue.
For a complete walkthrough on fixing these issues, our guide to tuning keyboard stabilizers covers everything you need to know.
When to Seek Help: Knowing Your Limits
While many issues are fixable, it’s important to know when a problem is beyond a simple DIY repair. If you suspect the PCB itself is damaged (e.g., from a liquid spill, a lifted hot-swap socket, or a broken USB port), and you are not comfortable with soldering, it’s best to contact the manufacturer for warranty support or to seek out a professional keyboard repair service in your area. Don’t risk causing further damage.
Conclusion
A mechanical keyboard is a durable, repairable piece of hardware. Unlike cheap membrane boards that you throw away at the first sign of trouble, most issues on a mechanical board can be diagnosed and fixed with a bit of patience. For Nate, our panicked user, the solution was as simple as swapping out a single faulty switch, a process that took less than five minutes and saved him from buying a whole new keyboard.
Don’t be afraid to open up your keyboard and investigate. By learning these basic troubleshooting skills, you become a more empowered and knowledgeable owner. You’ll save money, reduce electronic waste, and gain a much deeper appreciation for the elegant and resilient technology at your fingertips.